
Creating Transforms
The most atomic object in the transform layer is a transform, with the next level up being a transform group, which was mentioned previously in Groups.
After creating a transform group, you can create and save individual transforms. Creating new transforms is roughly the same process as creating transform groups, except you must be within a transform group to do so by clicking on the + Create transform button on the top-right corner of the transform screen.

You have two options, to use the SQL Console to write the code or to use the SQL Generator which is a step by step wizard, very useful for flattening JSON extracts. More information can be found on the next page .
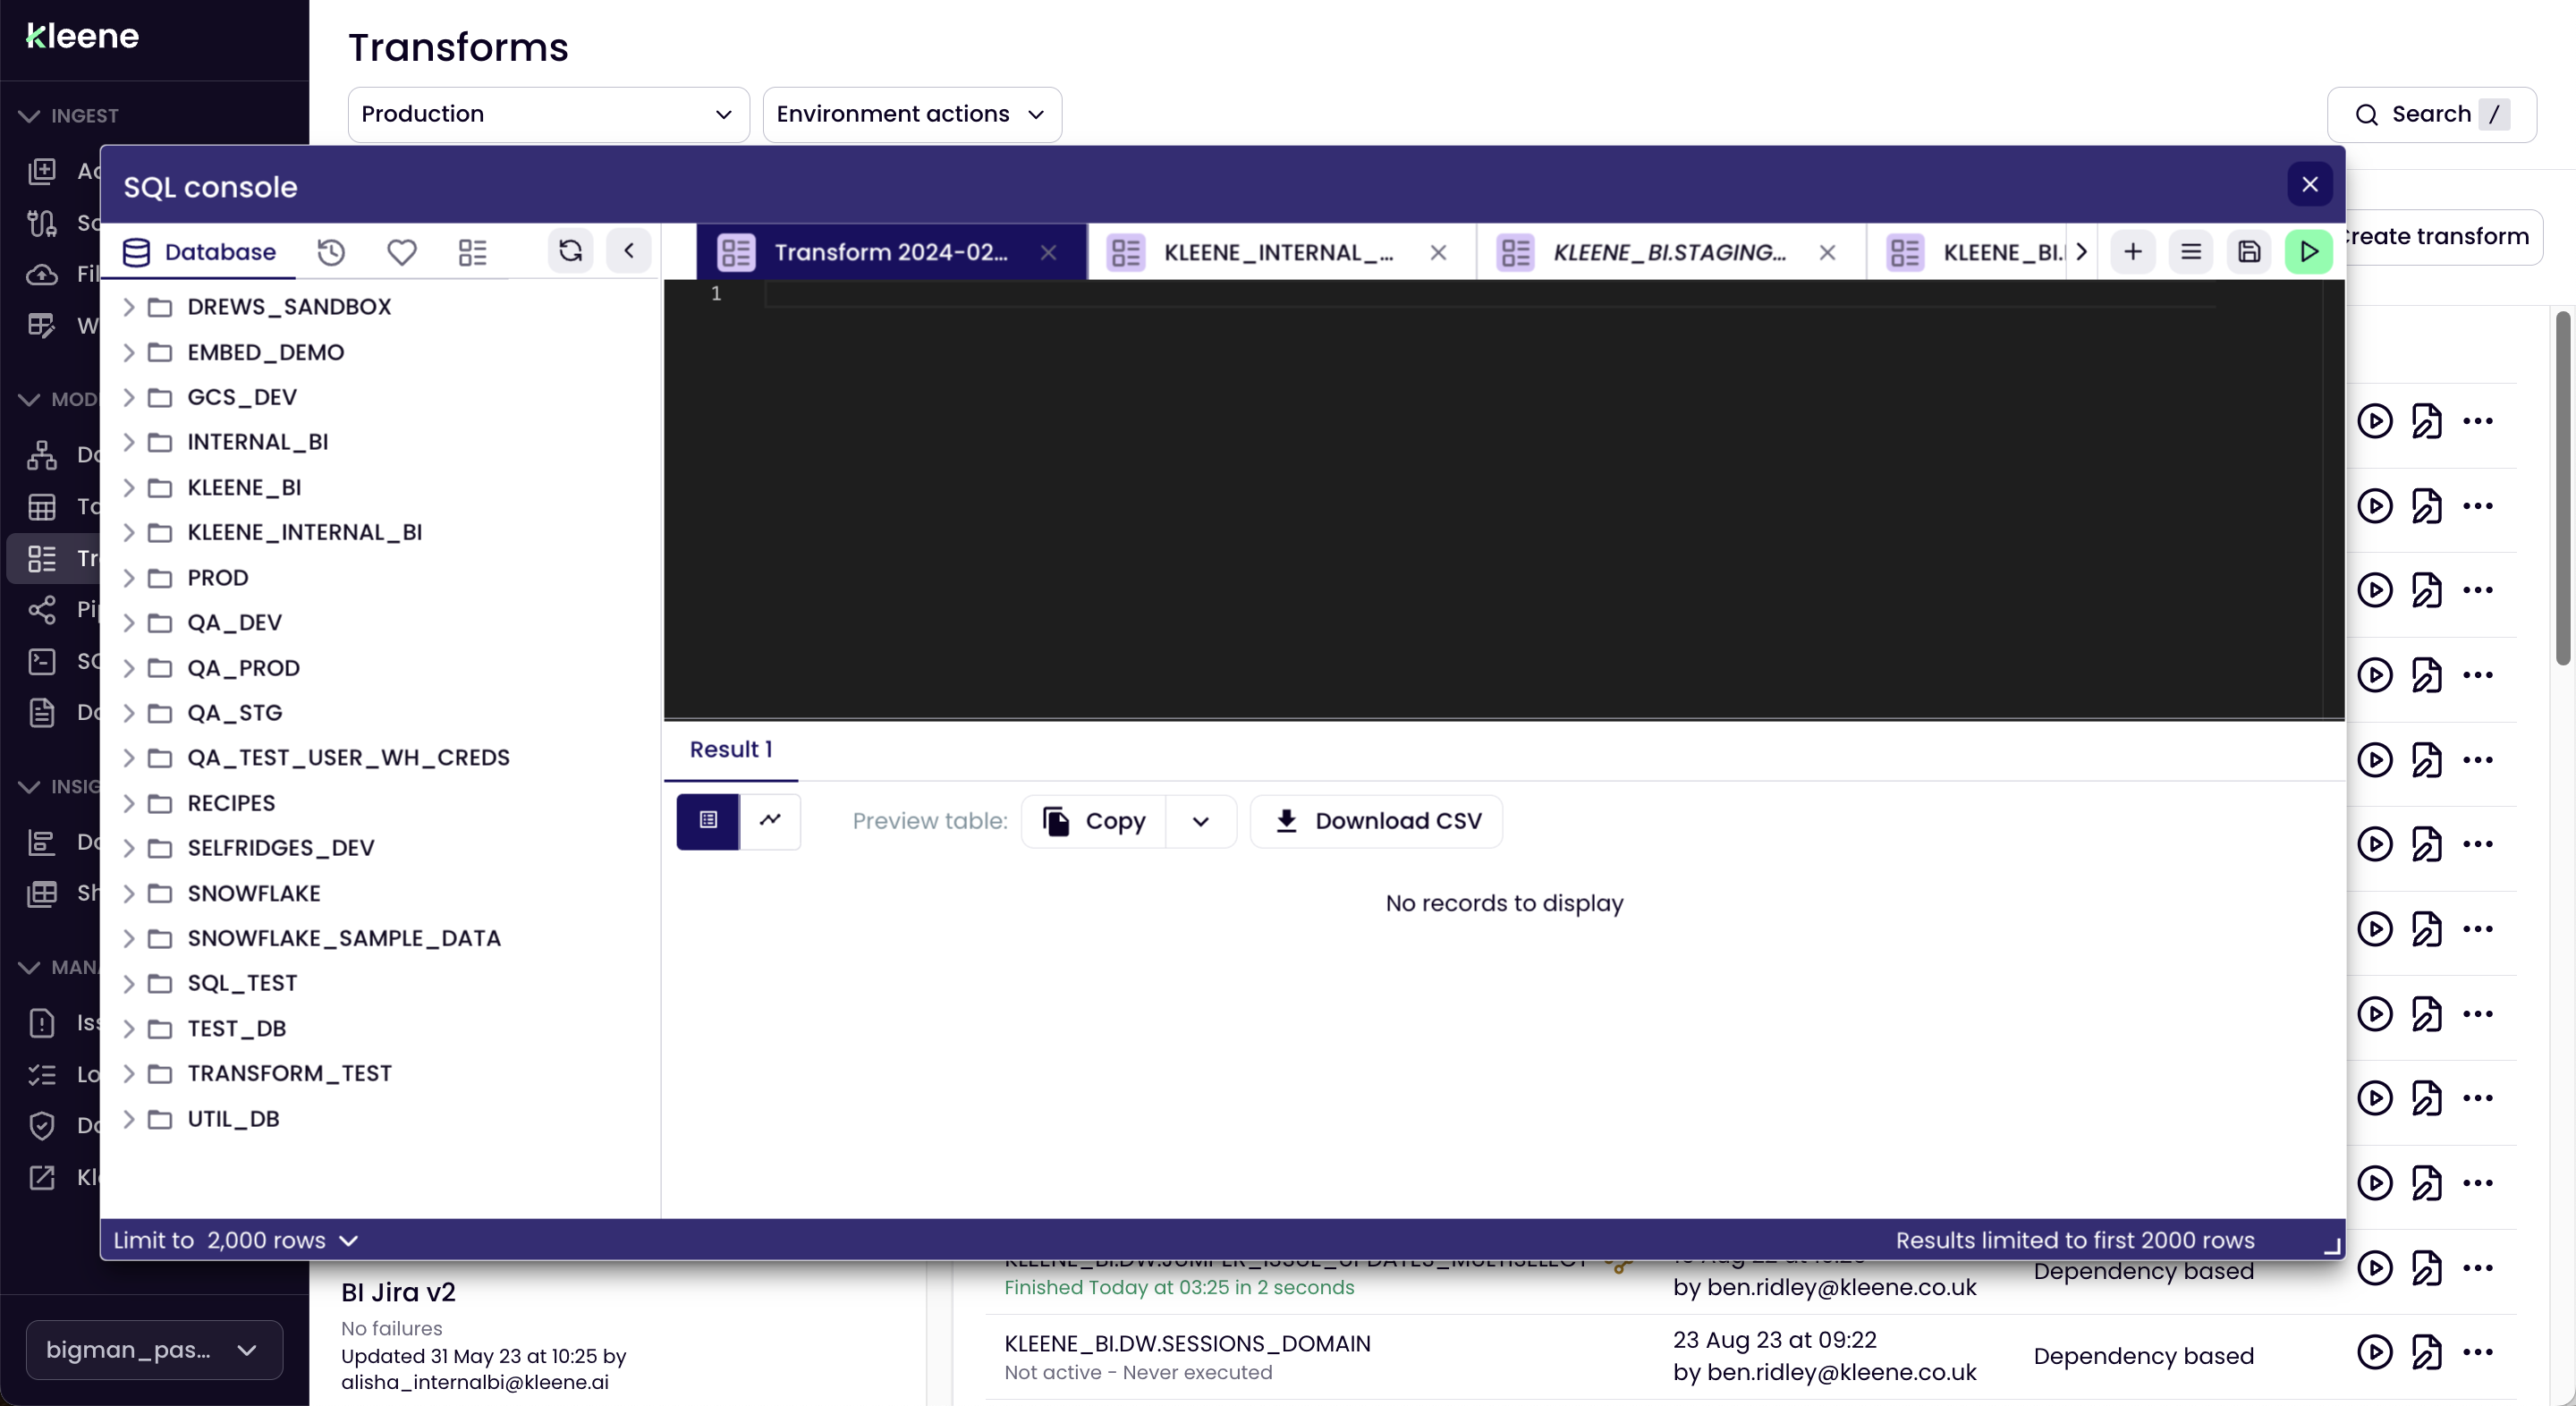
SQL Console
The SQL Console will appear over the top of the Transforms page and can be moved and resized, so you can still see what's underneath.
Here you can quickly check all the other transforms in the system, if you need to copy element of the SQL for example. Otherwise once the transform has been written and tested you can save it.
Configuring Transforms
A transform can be used to create, replace, update and delete (CRUD) data on a scheduled basis. Anything written in the editing box of a transform will hence be executed as SQL, which means you can create tables, insert into tables and run other SQL commands as if you are in the SQL console. However, bear in mind that you cannot observe the output immediately like in the SQL console, since queries in a transform are sent directly to the data warehouse with limited output.
Since the transforms run any text inside as SQL, they can also be used to run any warehouse commands on a schedule, so for the case of a Snowflake data warehouse, the transforms can be used to schedule a query that changes the warehouse size at certain times in the day. The query for this may look like:
ALTER WAREHOUSE elt SET WAREHOUSE_SIZE = MEDIUM;Transforms are executed as a single warehouse transaction see Snowflake docs or Redshift docs. This means if the transform fails to execute at any point in the SQL none of the preceding statements will have executes. In other words either all the SQL in the transform is executed (success) or all the SQL in the transform does not execute (failure).
Stored ProceduresTo run a stored procedure that contains a DDL statement inside a transform, please use the BEGIN and END scripting commands.
Updated 8 months ago