Setting Up Google Cloud Storage
Guide to setting up a GCS Filestore for use with the Kleene app
Prerequisites
- If you're not familiar with the Google Cloud Platform, please see this overview here → Overview
- If you don't have an account or organization set up in GCP, sign up for a free account before you continue →
sign up - To perform the required resource creation and role management, your account needs "Owner" permissions at the appropriate scope (your subscription or resource group). If you need assistance with role assignment, see → Overview of IAM Permissions in GCP
Steps
Create a Project to link with your GCS bucket
To create a project, you must have the resourcemanager.projects.create permission. This permission is included in the Project Creator roles/resourcemanager.projectCreator role, which is granted by default to the entire domain of a new organization and to free trial users. For information on how to grant individuals the role and limit organization-wide access, see the Managing Default Organization Roles page.
To create a new project, do the following:
- Go to the Manage Resources page in the Cloud Console. → Manage Resources
- On the ‘select organisation’ drop-down list at the top of the page, select the organisation in which you want to create a project. If you are a free trial user, skip this step, as this list does not appear.
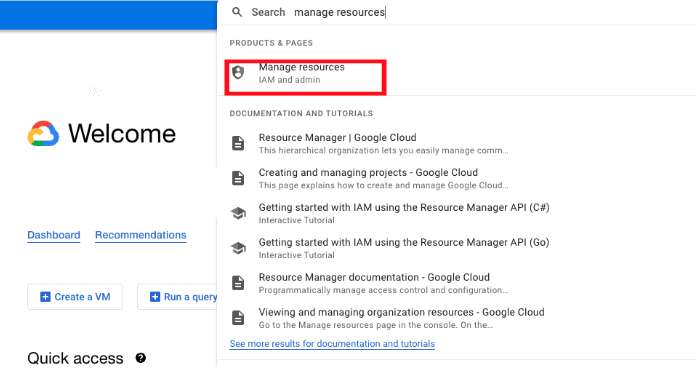
- Click Create Project.

- In the New Project window that appears, enter a project name and select a billing account as applicable. A project name can contain only letters, numbers, single quotes, hyphens, spaces, or exclamation points, and must be between 4 and 30 characters.
- Enter the parent organization or folder in the Location box. That resource will be the hierarchical parent of the new project.
- When you're finished entering new project details, click Create.
Create a service account linked to your project
In the Cloud Console, go to the Service accounts page. Go to the Service accounts page
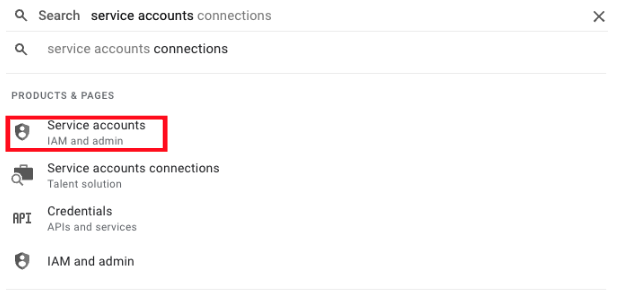
- Select a project.
- Click Create service account.
- Enter a service account name to display in the Cloud Console. The Cloud Console generates a service account ID based on this name. Edit the ID if necessary. You cannot change the ID later.
- Optional: Enter a description of the service account.
- If you do not want to set access controls now, click Done to finish creating the service account. To set access controls now, click Create and continue to the next step.
- Optional: Choose one or more IAM roles to grant to the service account on the project.
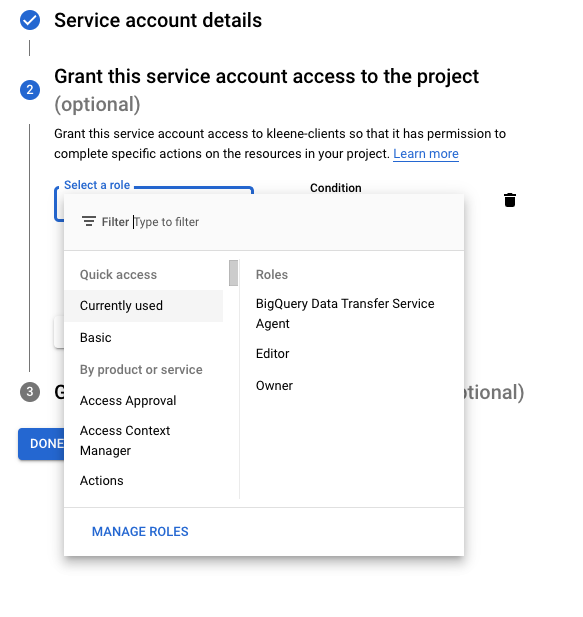
- When you are done adding roles, click Continue.
- Optional: In the Service account users role field, add members that can impersonate the service account.
- Optional: In the Service account admins role field, add members that can manage the service account.
- Click Done to finish creating the service account.
After you create a service account, grant one or more roles to the service account so that it can act on your behalf.
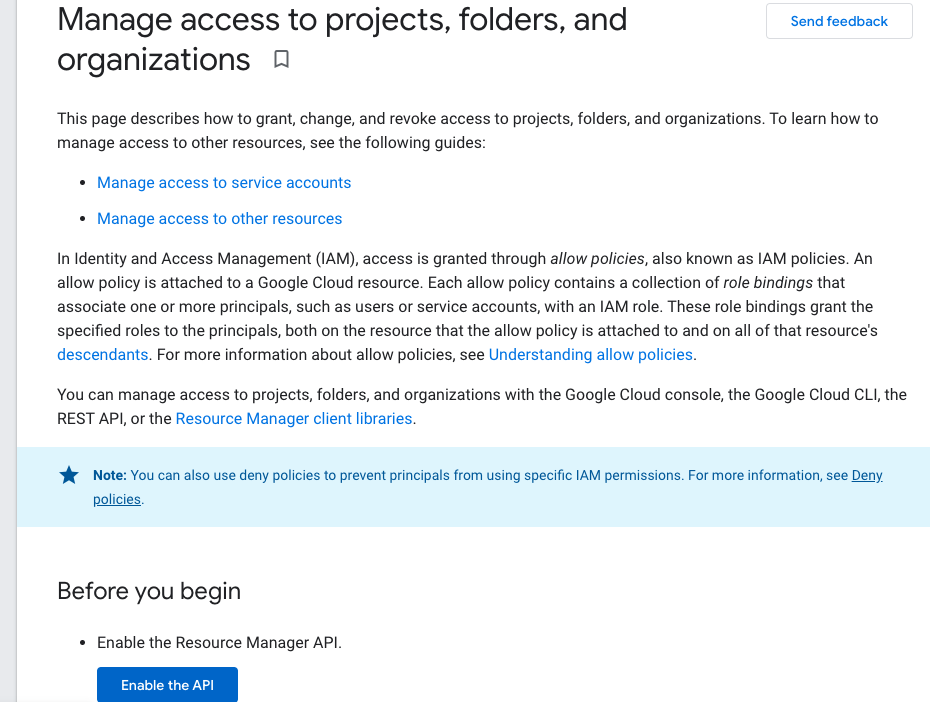
Also, if the service account needs to access resources in other projects, you usually must enable the APIs for those resources in the project where you created the service account.
Generate credentials to connect up your Google services via the kleene app
To allow a user to manage service account keys, grant the Service Account Key Admin role (roles/iam.serviceAccountKeyAdmin). For more information, see Service Accounts roles.
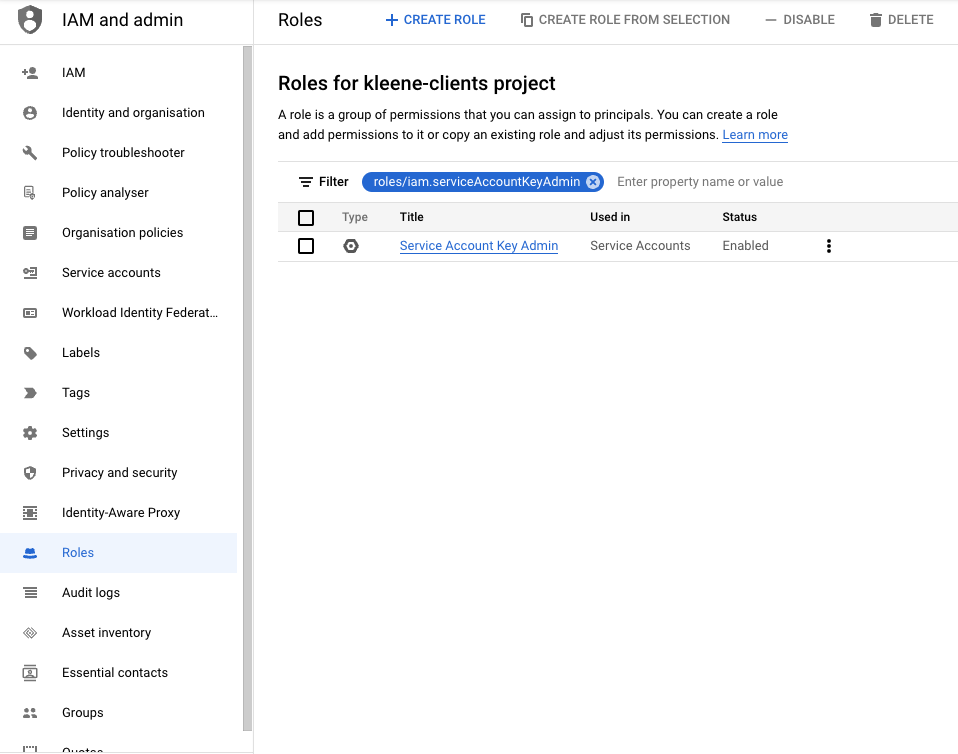
IAM basic roles also contain permissions to manage service account keys. You should not grant basic roles in a production environment, but you can grant them in a development or test environment.
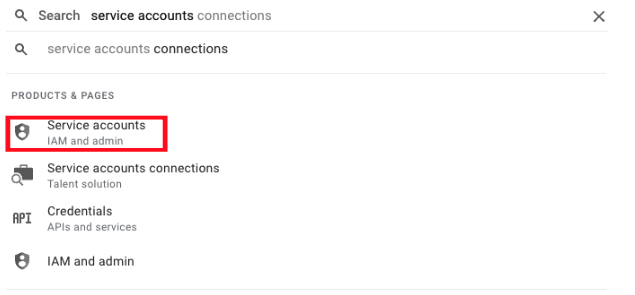
- In the Cloud Console, go to the Service Accounts page. → Go to Service accounts
- Select a project.
- Click the email address of the service account that you want to create a key for.
- Click the Keys tab.
- Click the Add key drop-down menu, then select Create new key.
- Select JSON as the Key type and click Create
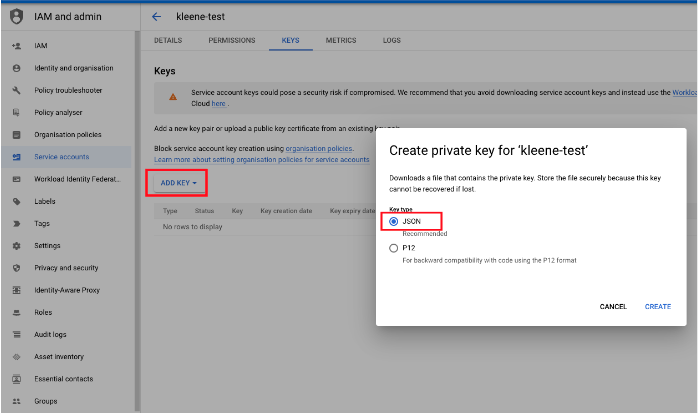
Clicking Create downloads a service account key file. After you download the key file, you cannot download it again.
The downloaded key has the following format, where private-key is the private portion of the public/private key pair:
{
  "type": "service_account",
  "project_id": "project-id",
  "private_key_id": "key-id",
  "private_key": "-----BEGIN PRIVATE KEY-----\nprivate-key\n-----END PRIVATE KEY-----\n",
  "client_email": "service-account-email",
  "client_id": "client-id",
  "auth_uri": "https://accounts.google.com/o/oauth2/auth",
  "token_uri": "https://accounts.google.com/o/oauth2/token",
  "auth_provider_x509_cert_url": "https://www.googleapis.com/oauth2/v1/certs",
  "client_x509_cert_url": "https://www.googleapis.com/robot/v1/metadata/x509/service-account-email"
}
Make sure to store the key file securely, because it is required to authenticate your service account. You can move and rename this file but do not edit the contents.
Google Cloud Platform - Cloud Storage (Filestore)
In order to get started, the Kleene app will need you to set up a GCS bucket within your GCP account specifically for the Kleene application. Provided you have access to the GCP portal, you'll need to follow the steps indicated below.
- In the Google Cloud Console, go to the Cloud Storage Browser page. → Go to Browser
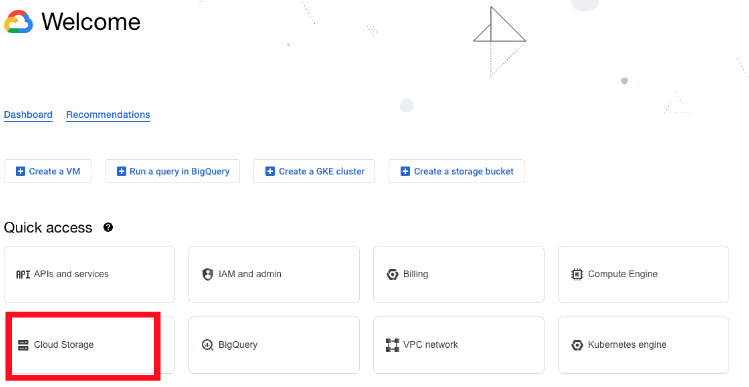
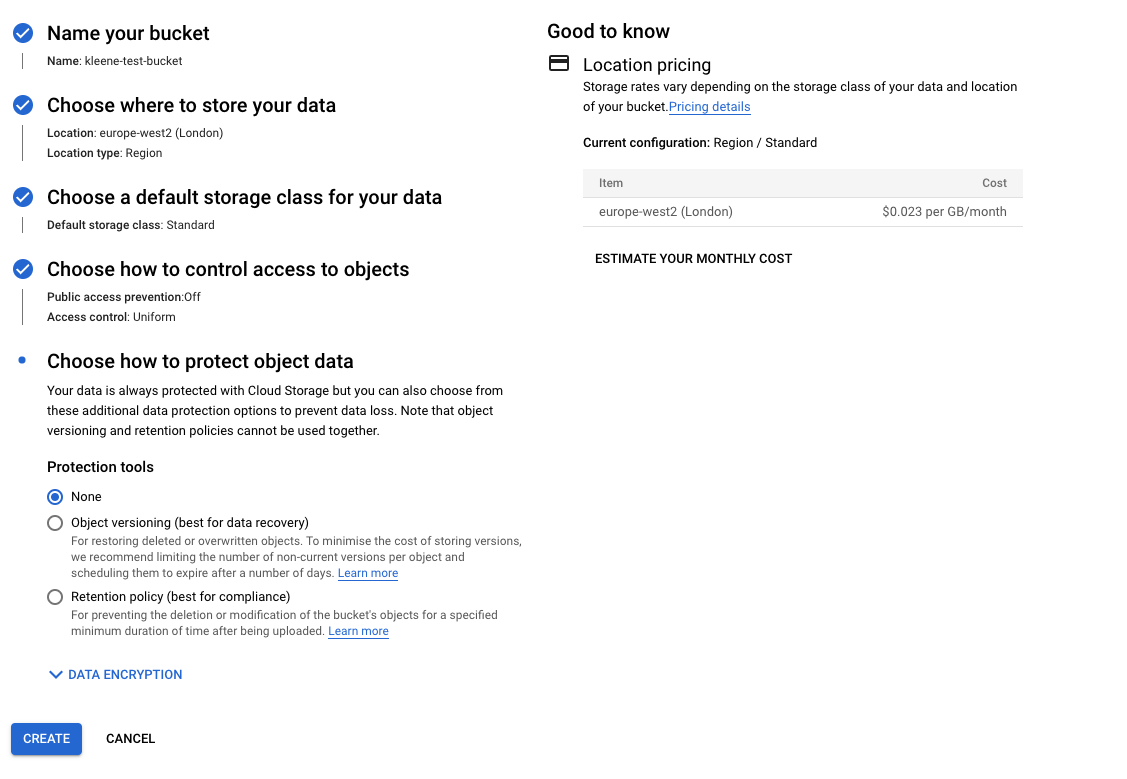
- Click Create bucket.

- On the Create a bucket page, enter your bucket information. To go to the next step, click Continue.
- For **Name your bucket**, enter a name that meets the [bucket naming requirements](http://cloud.google.com/storage/docs/naming-buckets).
- For **Choose where to store your data**, select a **[Location type](http://cloud.google.com/storage/docs/locations)** and **[Location](http://cloud.google.com/storage/docs/locations#available-locations)** option where the bucket data will be permanently stored. Please ensure this region matches that of the data warehouse due to be set up in subsequent steps.
- For **Choose a default storage class for your data**, select a [storage class](http://cloud.google.com/storage/docs/storage-classes) for the bucket. The default storage class is assigned by default to all objects uploaded to the bucket.**Note:** The **Monthly cost estimate** panel in the right pane estimates the bucket's monthly costs based on your selected storage class and location, as well as your expected data size and operations.
- For **Choose how to control access to objects**, select an **Access control** option. The access control model determines how you [control access](http://cloud.google.com/storage/docs/access-control) to the bucket's objects.
- For **Advanced settings (optional)**, add [bucket labels](http://cloud.google.com/storage/docs/key-terms#bucket-labels), set a [retention policy](http://cloud.google.com/storage/docs/bucket-lock), and choose an [encryption method](http://cloud.google.com/storage/docs/encryption).- Click Create.
These credentials can now be used to connect up your GCS filestore within the Kleene app.
Creating a Storage Integration
In order to connect your GCS with Snowflake to use within the Kleene app you need to create a storate integration using the following Snowflake documentation here
Updated 3 months ago
