Setting up a Redshift Warehouse
Guide to setting up your AWS Redshift Warehouse
Redshift
Amazon Redshift is a fully managed, petabyte-scale data warehouse service in the cloud. Follow the management guide to know more about Redshift.
Prerequisites
If you decide to use Redshift as your data warehouse you must use s3 as your filestore, please see our documentation on creating an s3 bucket in order to set this up.
Create redshift cluster
To get started with the Amazon Redshift console, watch the following video from amazon.
Reference : https://docs.aws.amazon.com/redshift/latest/gsg/console.html
Ensure you select a size appropriate for your expected data volumes.
RedShift cluster endpoint details
- Open the AWS redshift console
- Select the region your cluster is deployed
- In the left menu bar, click Clusters.
- Select the cluster you want Kleene app to connect.
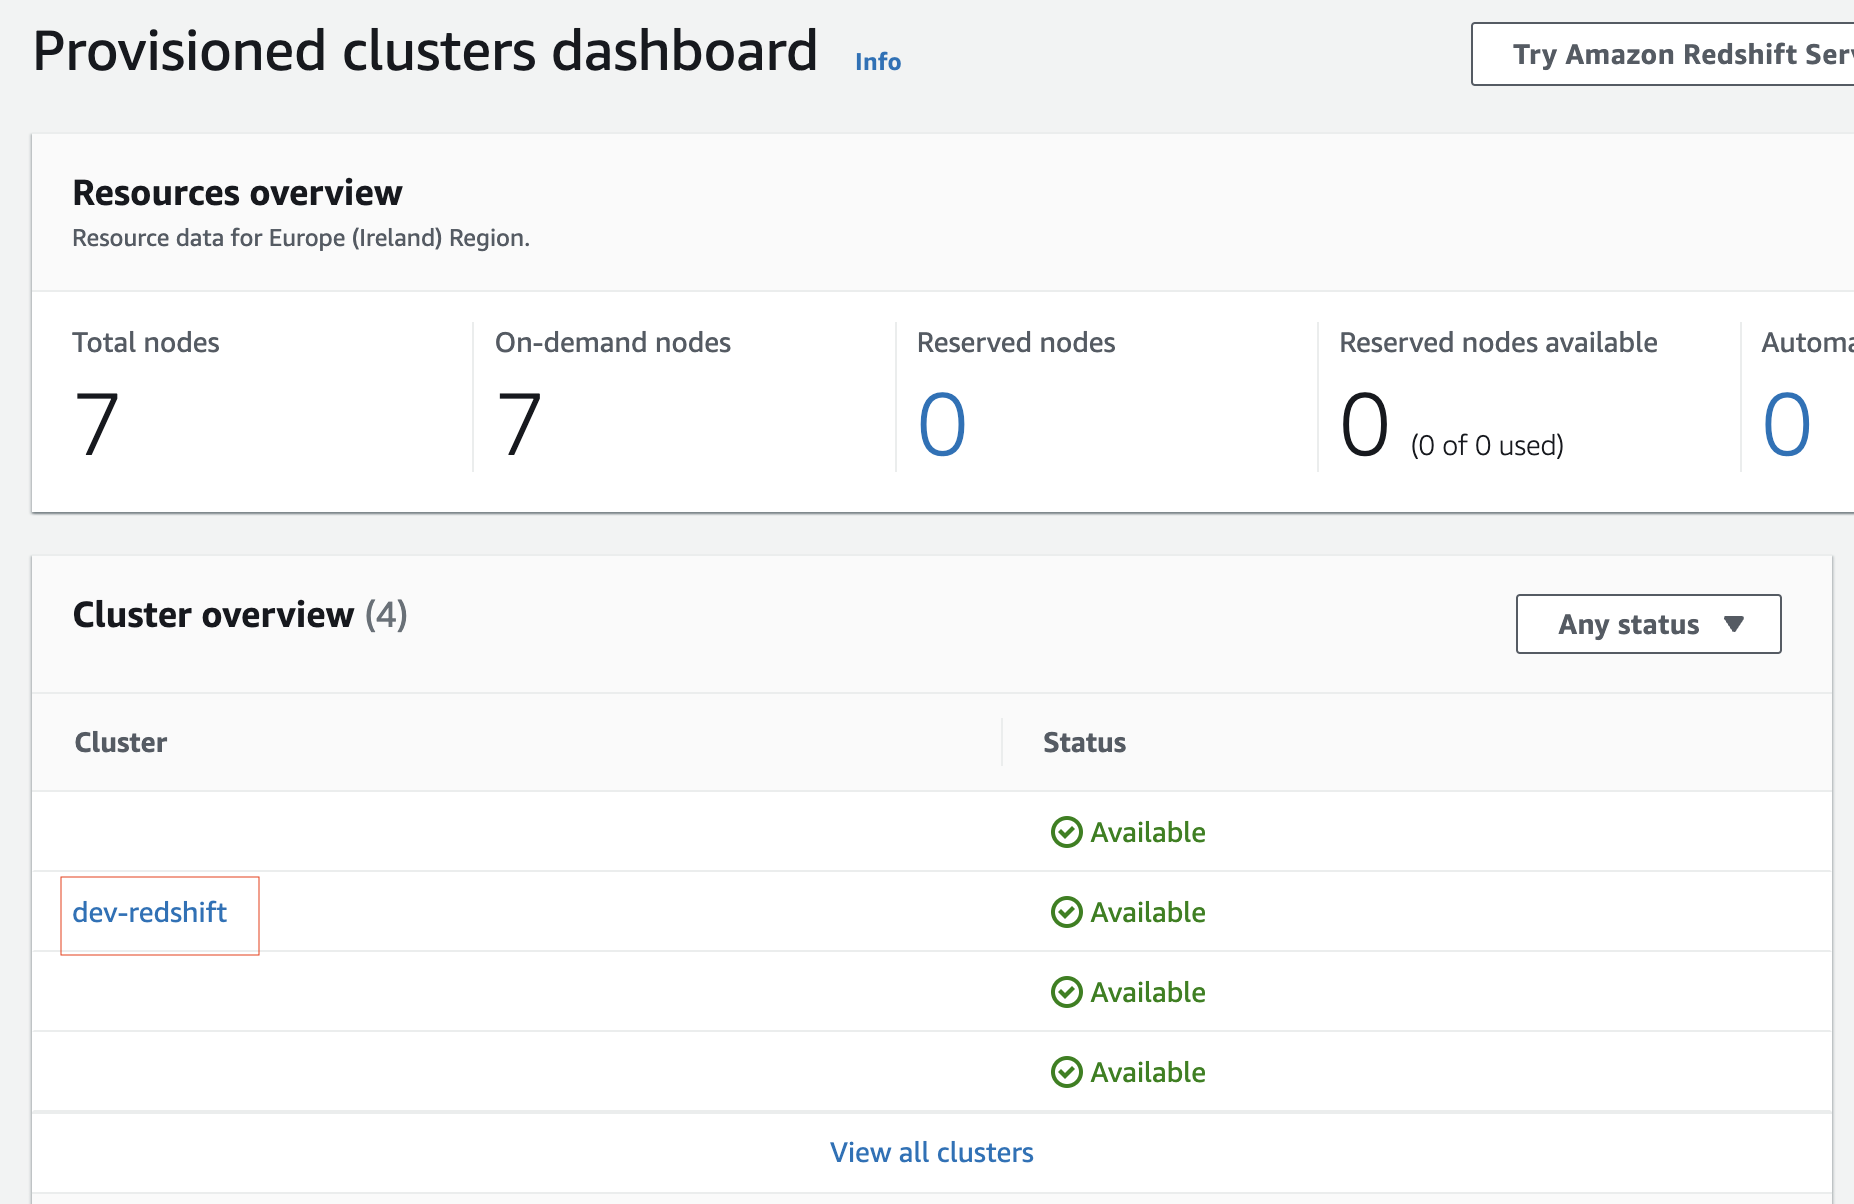
- Click on the copy Icon next to endpoint so you can view the full url.

- Save the Port the database is operating on as you will need this for your setup, it is usually 5439. - example -
dev-redshift.<clusterID>.eu-west-1.redshift.amazonaws.com:**5439**/dev - You will also have to input the host name in the Kleene app setup this is the endpoint without the port and database at the end, from the example above this would be:
dev-redshift.<clusterID>.eu-west-1.redshift.amazonaws.com
Allow Kleene to connect to the Redshift Cluster
Security Group
- Open the AWS redshift console
- Select the cluster —> click on Properties Tab
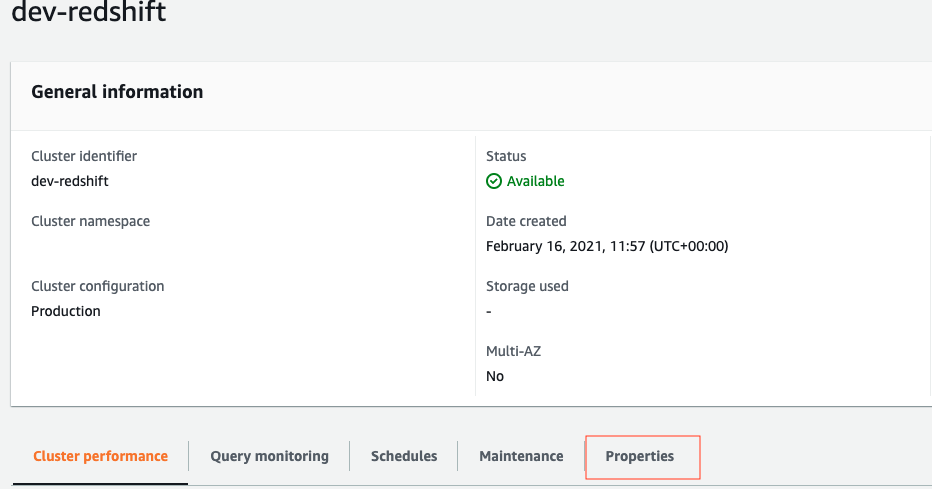
- Scroll to the Network and security section and click on security group to open it.
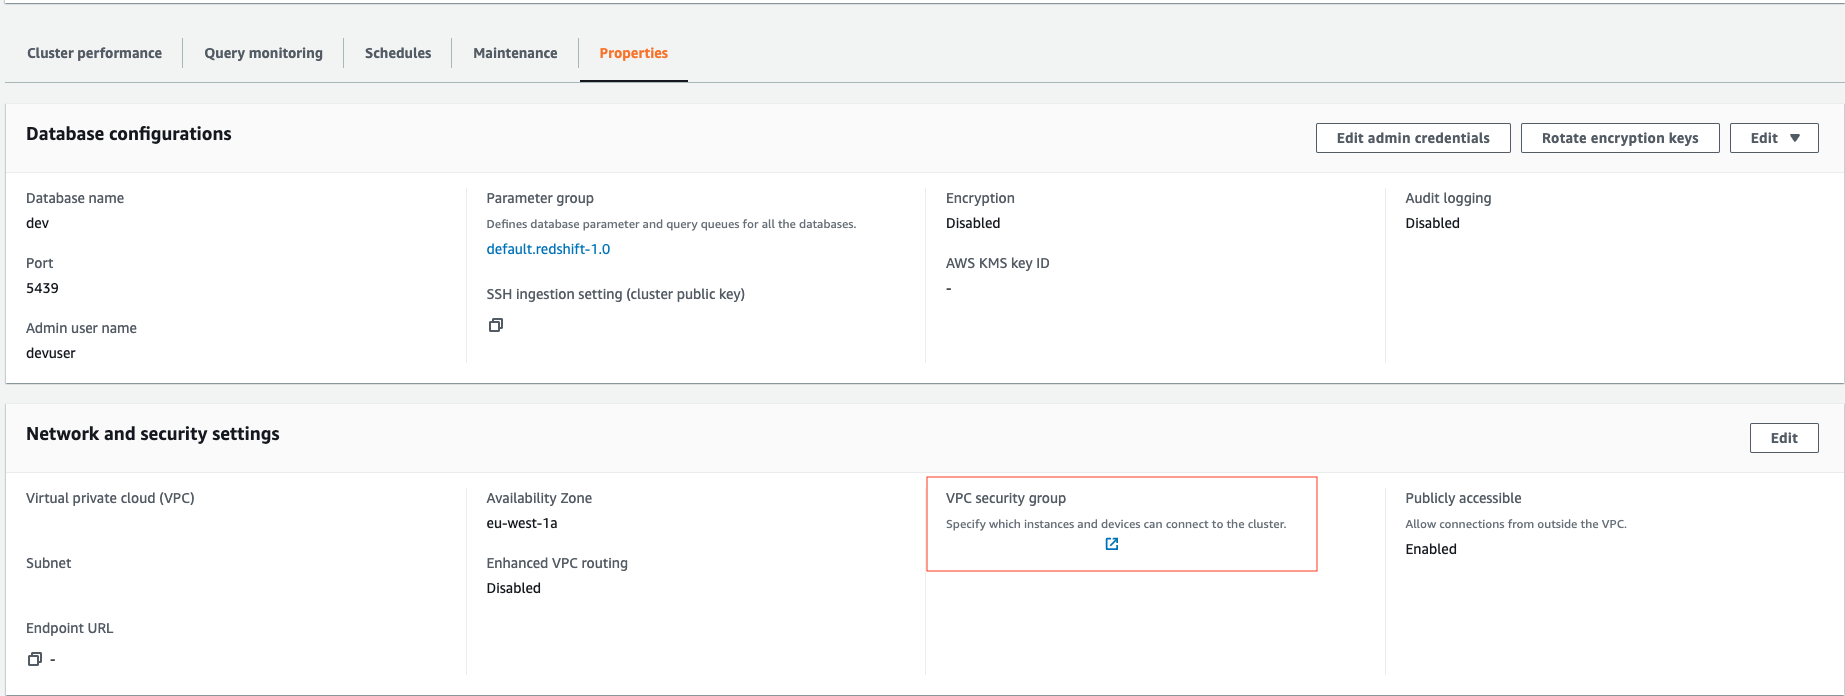
- In the above security group, click Inbound rules tab followed by click on Edit inbound Rules

- Click Add Rule —> Select Redshift from the dropdown under Type and enter the following Kleene IPs in separate rules to allow Kleene app to connect to Redshift Cluster:
54.78.204.135/3234.242.207.164/32

- Click Save rules.
Connect to the cluster as Limited user
We recommend that you create a “Limited user”, as master username inherently has the CREATE permissions. A kleene.ai app user/password on Redshift that has permissions to create schemas and tables. The app will create the schemas and tables it needs.
- Connect to RedShift cluster either using query editor on AWS console .

When you enter the query editor you will be prompted to connect to connect to a database, connect to the database you created when creating the cluster.
- The Kleene app uses password authentication. Execute the following query to create a user called “eltuser”. Replace
<password>with a password of your choice.
CREATE USER eltuser PASSWORD with `<password>` createdb;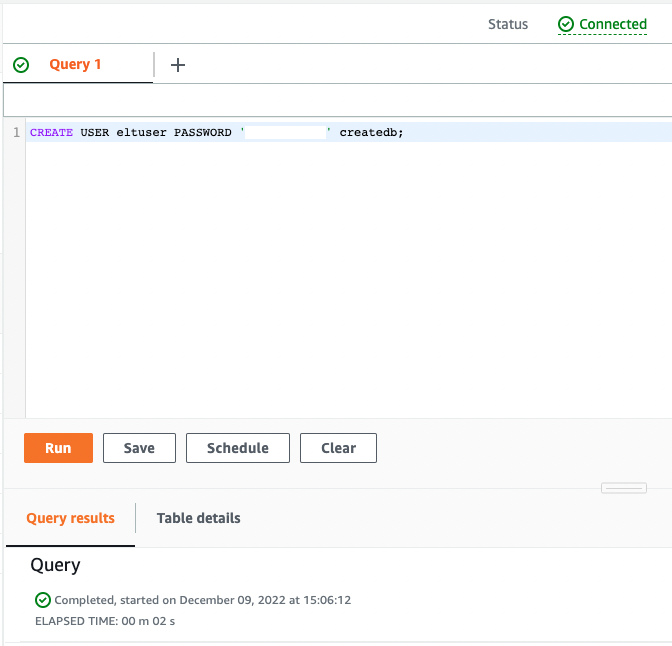
- You now need to grant all privileges to this user so they are able to create schemas, write tables.
GRANT ALL on DATABASE <dbname> to eltuser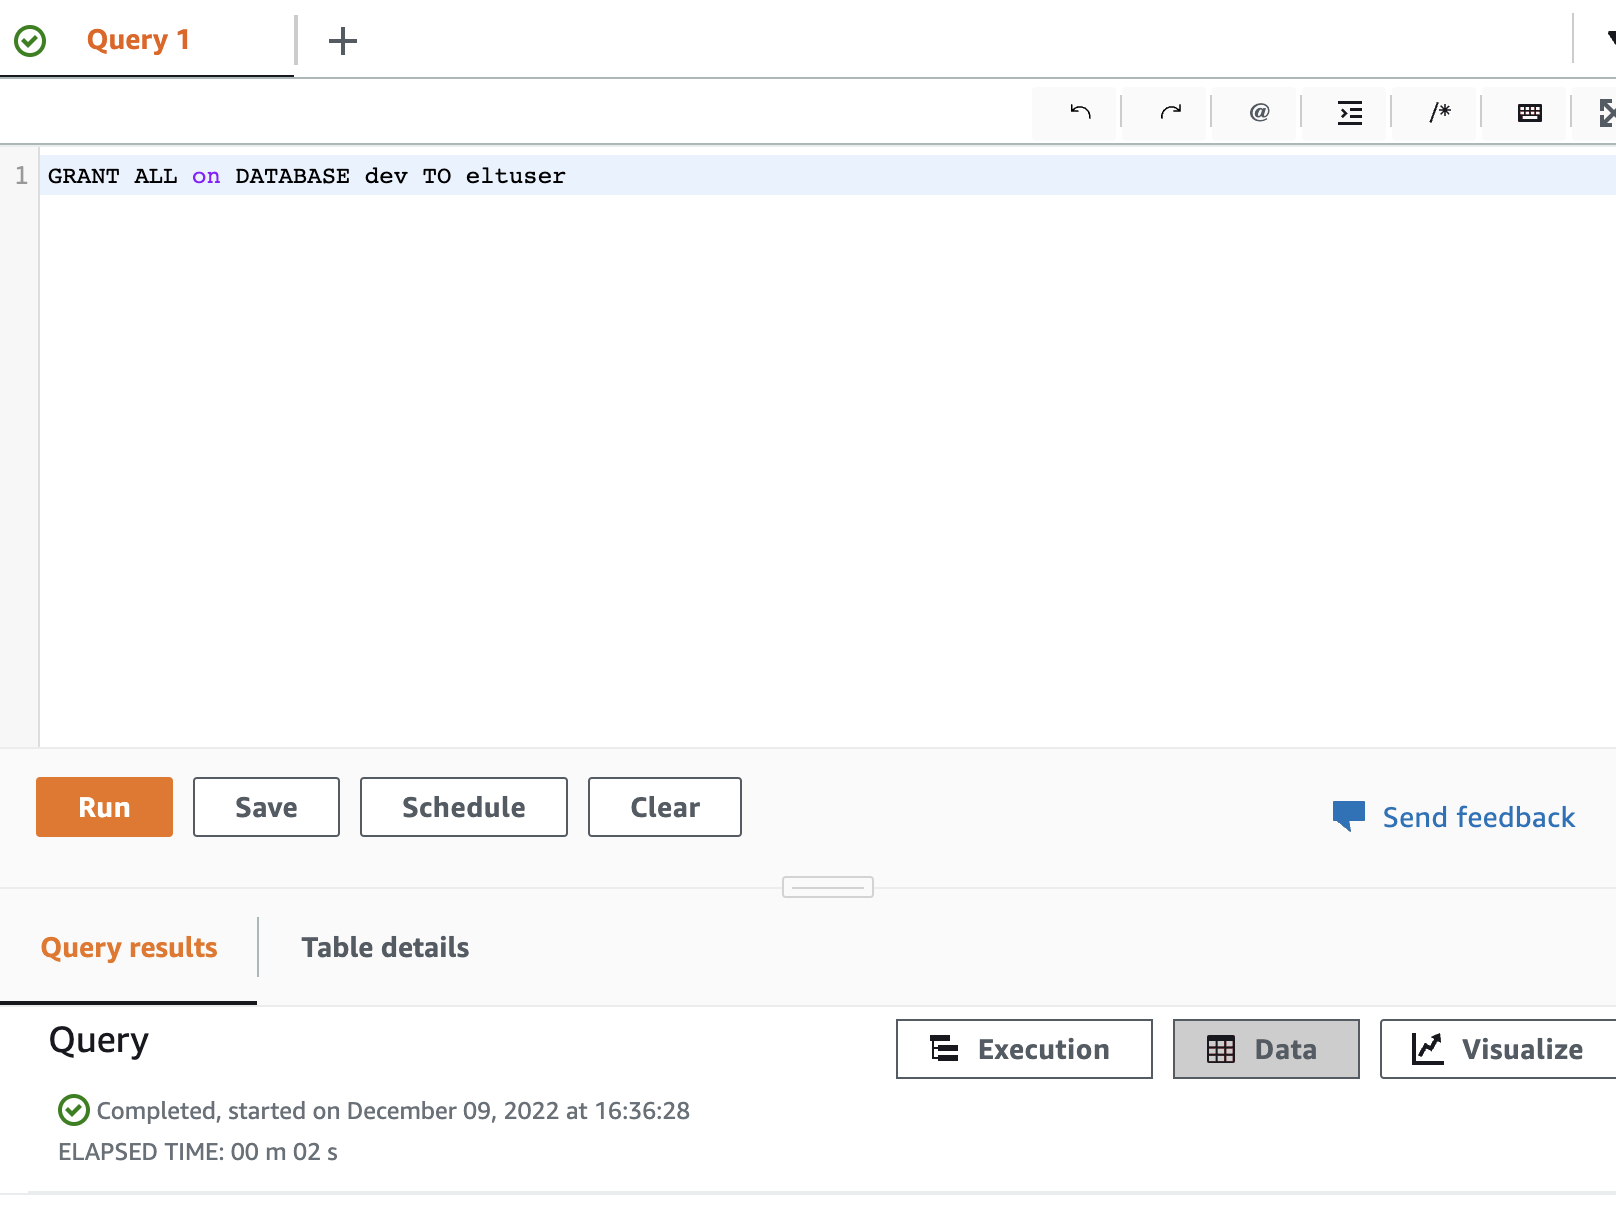
- Query the PG_USER_INFO catalog table to view details about all database users.
select * from pg_user_info;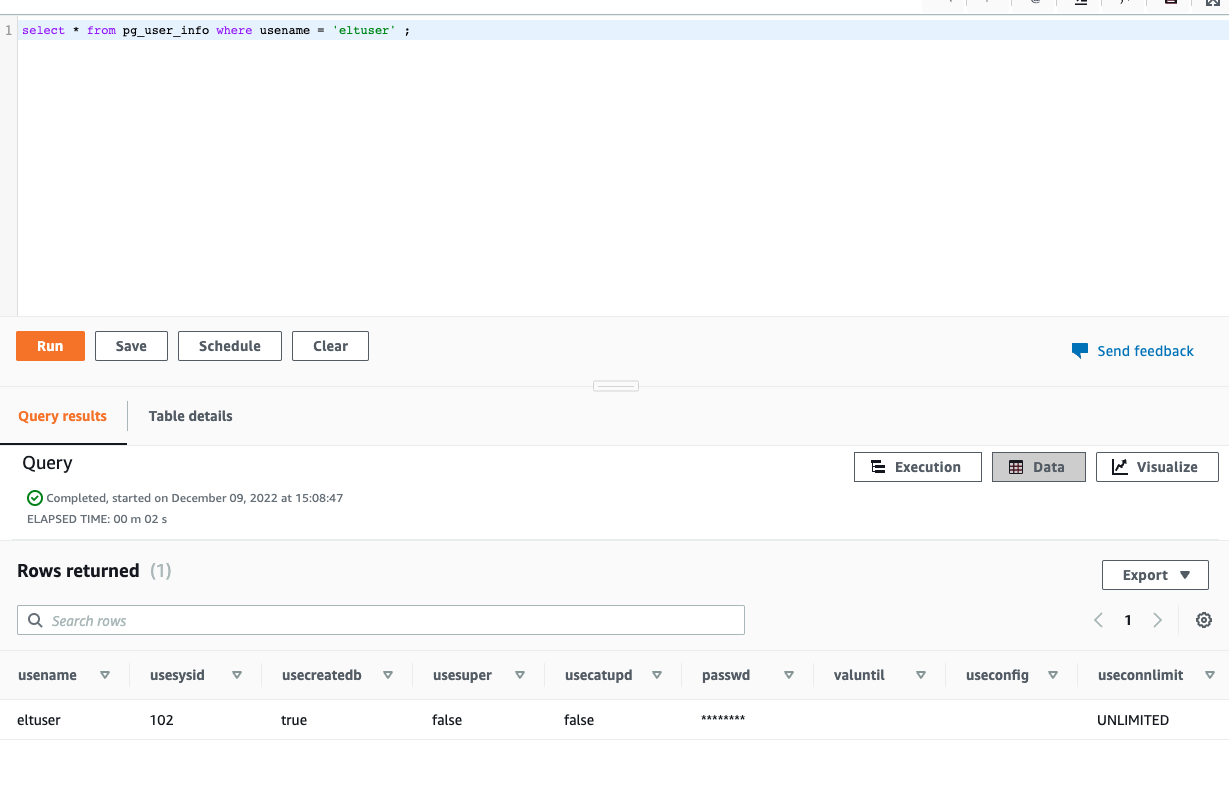
Kleene App Setup
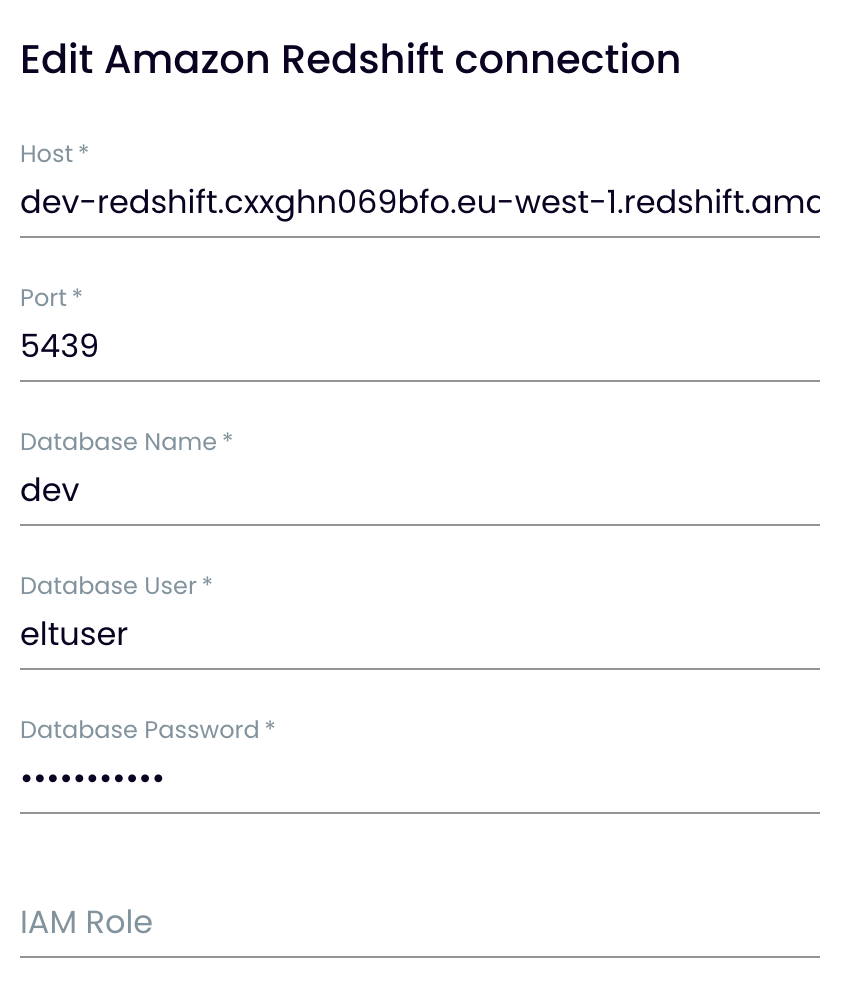
In order to setup in the Kleene app you will need to know:
- Host
- You can find this as outlined above in the cluster Endpoint.
- Port
- You can find this as well in the cluster Endpoint.
- Database Name
- This was the name you gave the database when creating the cluster. ‘dev’ in the example.
- Database User
- This was the username you assigned. ‘eltuser’ in the example.
- Database Password
- This was the password assigned to user.
- s3 setup
- If you have an s3 bucket setup fill in these details, if you need to set one up see the section on s3 below.
- It is recommended you set up your s3 bucket in the same region as your redshift cluster.
VPC Endpoint for S3 (Optional)
If you have deployed your Redshift cluster on private subnets you must enable Enhanced VPC routing. When you use Amazon Redshift enhanced VPC routing, Amazon Redshift forces all COPY and UNLOAD traffic between your cluster and your data repositories through your virtual private cloud (VPC).
Enable Enhanced VPC routing (
1. navigate to your **cluster** --> **properties**
2. click edit under **Network and security settings**
3. Select the radio button for "Turn on" for the option Enhanced VPC routing.
To create VPC endpoint
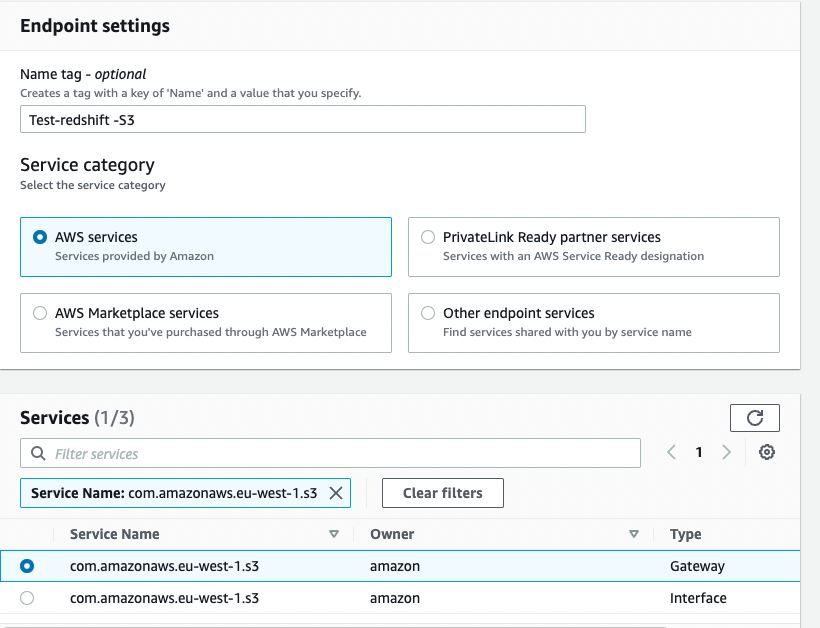
You must create VPC endpoint type “Gateway” to allow access to the S3 buckets.
- Navigate to Amazon VPC console.
- Select Endpoints and click **Create Endpoint**
- Select AWS services in Service category
- In the Services section, select S3 - type “Gateway”
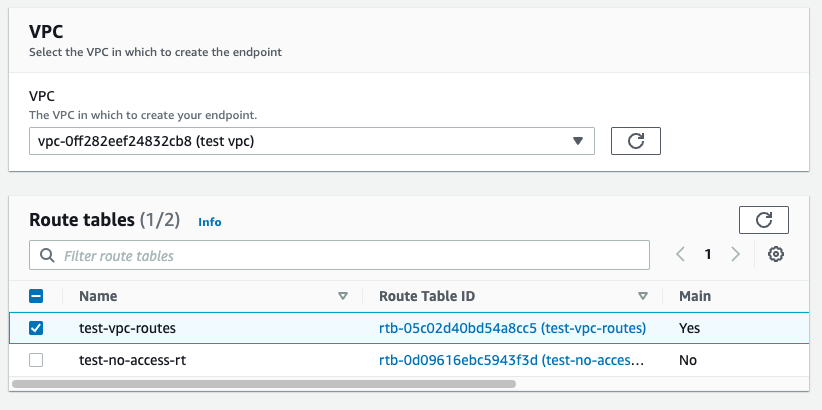
- Select the VPC and the Route Table Id associated with the VPC
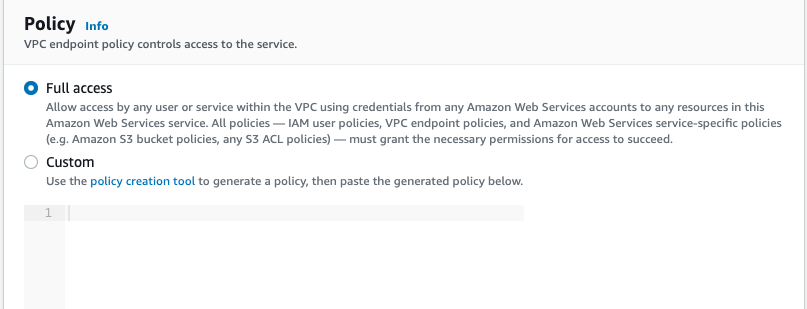
- Select Full access under Policy
- Add Tags (optional) if needed or tags can be skipped.
- Click Create endpoint
Updated 3 months ago
